How to choose the correct interlining
Choosing interlining – an example
Need help choosing interlining? On the page Interlining Choosing Aid you will find a PDF with info about how to select your interlining. To explain how to choose we have made this page. Here you read the story of Jolanda who creates a bridal gown for her daughter.
And for people who like to try the different types of interlining before buying we have a swatches category in our shop. Order your test samples and try them on your fabric. The best way to see if the interlining does what you envisioned.
The story of Jolanda’s search for the right interlining
Jolanda is a keen hobby sewer, works as a nurse and is mother of three children. Her oldest daughter is getting married. Thé moment to make another bridal gown.
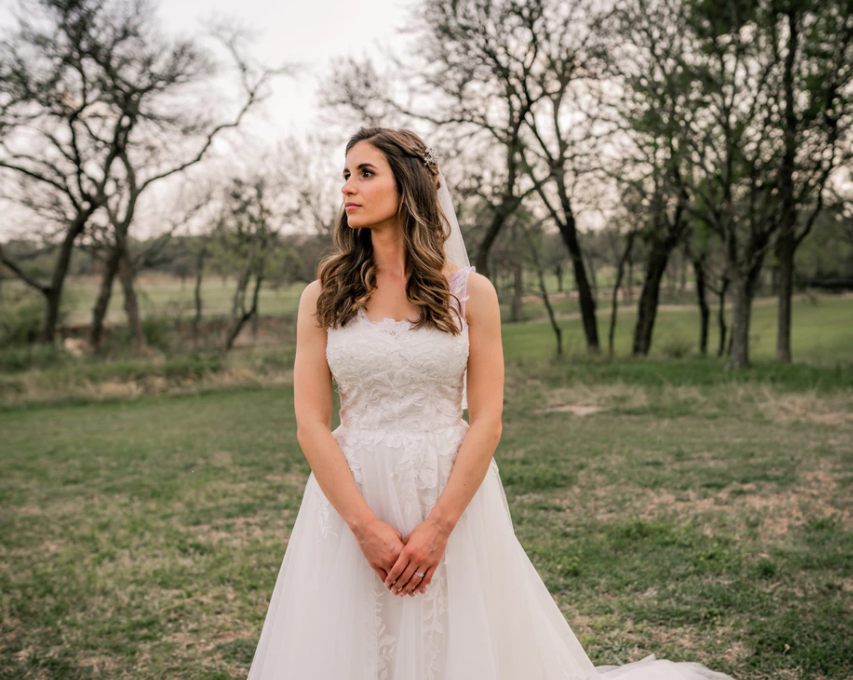
She made her own wedding dress years ago but wedding fashion has changed a lot over time. Her daugther choose this dress. The bodice is form fitting and the skirt is wide with a train at the back.

After finding the pattern and the fabrics it is time for interlining. The fabric Emily and Jolanda chose is a thin satin that will be covered with a thin see through lace. It is an embroidered tulle with a lot of space between flowers.
Jolanda has been our customer for a long time so she called Annette from our sales department.
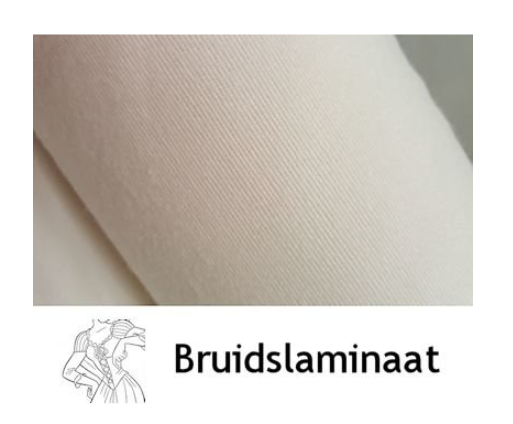
Bridal laminate for the dress – choosing interlining
Jolanda and Annette discuss the pattern, fabric and the options for interlining. Jolanda says her daugther has a larger dress size than the girl in te photo and would like wider shoulderstraps. She also wants boning in the bodice to enhance her best assets. Because Jolanda does not like the idea of ironing interlining on the thin fabric Annette recommends she use Bridal laminate. There are three kinds of this interlining. One is iron on so that one is not suitable. The remaining two are sewn in, one if the one-sided roughened and the other the finish 6.

“What is the difference between the two?” Jolanda asks. Annette answers: “The finish 6 is thinner than the roughened but also stiffer. The one-side roughened is finish 3. Aside from the different finish, the roughened one is a little hairy on one side which gives it a little more body than the finish 6 bridal laminate…”
“Hmm” says Jolanda, “My fabric is quite thin, I think the little bit of extra volume of the one-sided roughened Bridal laminate will be a good fit.” “I agree” Annette says, “That is a good choice for the pattern ánd the fabric”.
Cotton fuse batiste – Vilene G710
They continue their conversation and decide to take out the diagonal stretch (that every fabric has) out of the one-sided roughened Bridal laminate by ironing on a thin cotton batiste on the non roughened side. If you fuse the diagonal of the bridal laminate with the straight direction of the batiste you can create a Bridal laminate that does not stretch diagonally. The cotton batiste gives the Bridal laminate a little extra firmness which is not a problem, it will not become stiff.
The roughened side of the laminate is used against the fabric to give it a bit of volume.
Boning or no boning?
There is something to tell about boning too: One type is the sew in boning, otherwise known as Rigilene and the other is spiral boning. The sew in boning is made of plastic, small plastic rods that are woven together for form a flat piece of boning.
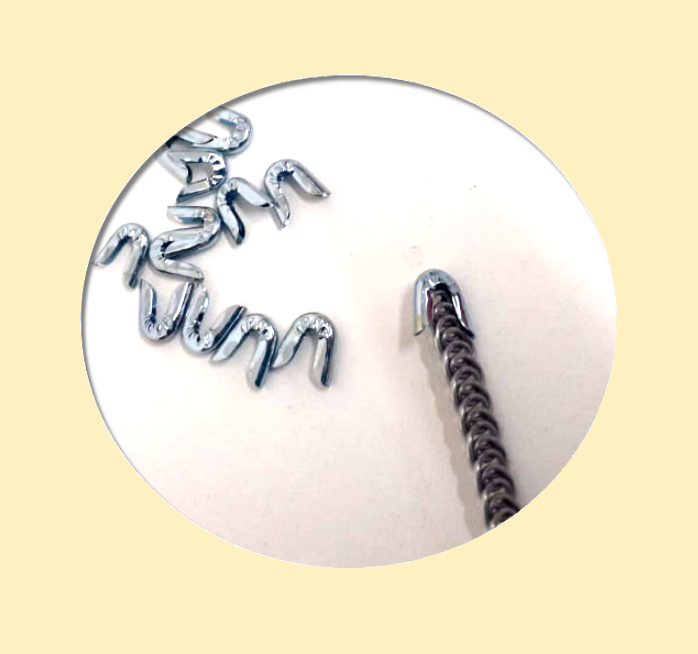
Spiral boning is used with tunneltape and made of metal. They look like rings that are placed halfway over another, a bit like the olympics rings.
Spiral Boning is available in different widths and also different wire gauges. Check out the differences in the shop. We have one of these we sell in smaller amounts, the other types are sold on larger rolls.
For both types of boning caps are available. These caps are used to finish of the ends of the boning…

Jolanda chooses the spiral boning with boning caps. This kind of boning is flexible but can withstand more force than the plastic ones. Because of the larger dress size of Jolanda’s daughter she picks spiral boning.
Besides fabric, lace and interlining the dress will also have lining. Jolanda chose a simple thin cotton fabric as lining. The reason being that cotton absorbs moisture better than regular lining. Regular lining also stays wet longer because it is made from polyester. A cotton lining is easier on the skin.
Processing the lace
The lace is a tulle with embroidered flowers on it that is placed over the fabric. The bodice is made entirely of fabric with lace covering and Jolanda handles it as if it is one layer. Interlining: The bridal laminate with the G710 cotton batiste and the boning is the next layer and underneath that the cotton lining will be placed. That is how the bodice is built up.
At the bottom of the bodice the skirt is attached, tulle lace is puckered more than the satin fabric because we do not want the skirt to be too full. The train is made only of the lace tulle so where the satin skirt hem ends on the floor, the lace train will extend beyond that.
Why choose sew in interlining?
Are you creating a garment from a thin or special fabric ironing the interlining on can be scary. When you realise that in the old days fusible interlining was not available and they made the most beautifull clothing you know it can be done without it…
Some fabrics are difficult to iron, a good reason to use sew in interlining. Fabrics with metal in it for example do not take the adhesive well.
Couture clothing? Sew in your interlining!
In Haute Couture sew in interlining is used more widely. The result is often more beautifull. Think of a nice jacket made from a woollen fabric. These are still made by tailors in the old fashioned way with horsehair cloth. Or check out the inside of a bridal gown, cocktail dress or other gala attire…
