

Estimated reading time: 5 minutes
Contents
Under the pseudonym Zipper fixer we show you how to shorten zips, make zips to size, replace runners, etcetera
Replacing a runner
When making a zip to size, in this case replace a runner, this is the way to go about it. The Zipper fixer explains. Where in Making zip to size – Removing teeth is clarified that the method differs with the kind of zip (spiral, blocktooth, metal). Is this not the case here. When replacing a runner the method stays the same, but then there is a difference between open ended and closed ended zips. Just like on the other pages by the Zipper fixer we expound how to replace runners of open ended zips, closed ended zips, two-way zips ànd invisible zips.How do we go about Making zips to size, replacing runners
-
Time needed: 5 minutes
Making zip to size – replacing runner
- Open ended zips
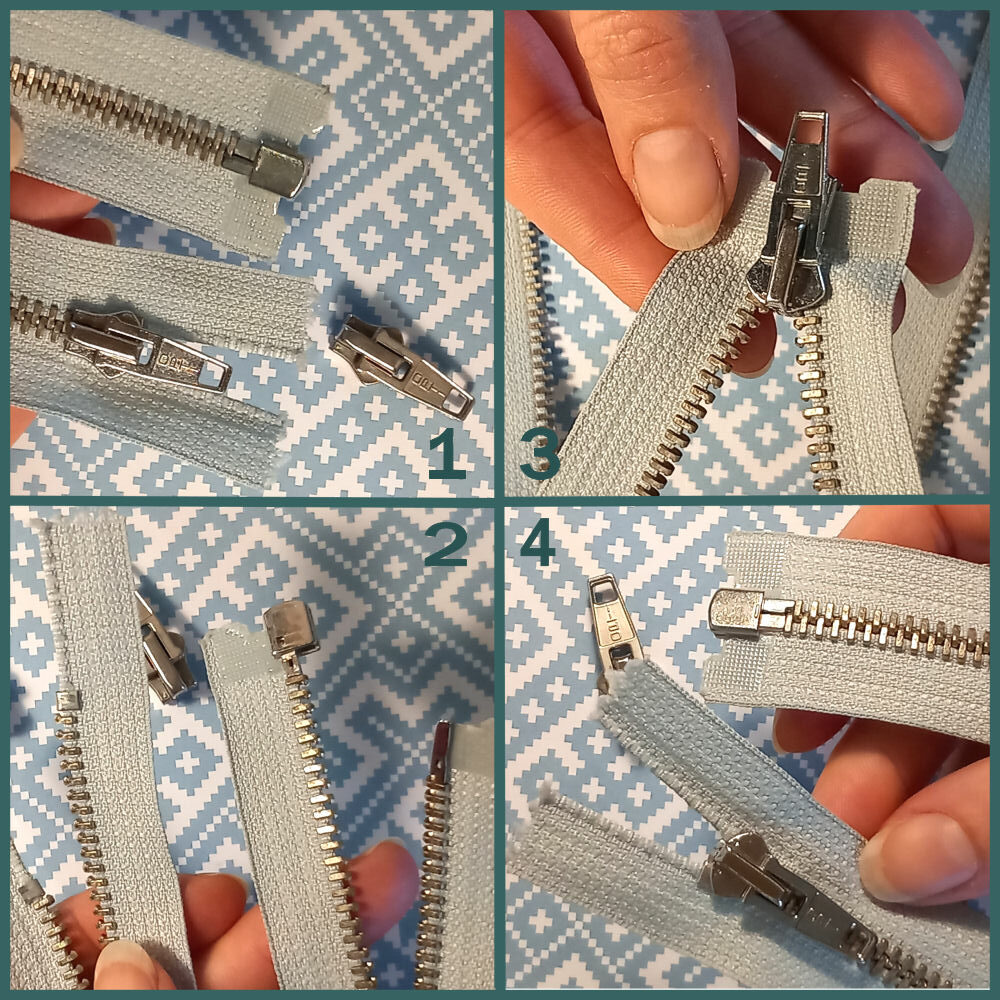
Pick up the zip and open it so you get two parts. Remove the topstops. (Learn how to by reading Making zip to size – Attaching bottomstop and topstops) Grab the runner and slide it all the way of the zip. Get the new runner and slide it over the zipteeth down to where the little square bit on the bottom is. Nest step is closing the zip up like you normally do. Make sure you don’t pull up the runner to far, because it will slide right off. Subsequently you attach the new topstops: DONE!
- Two-way zips
This is the same methode used at the open ended zip. Be aware it is not always possible to replace the bottom runner, because they are not always the same as the top runner. You will need to try that out…
- Closed ended zips
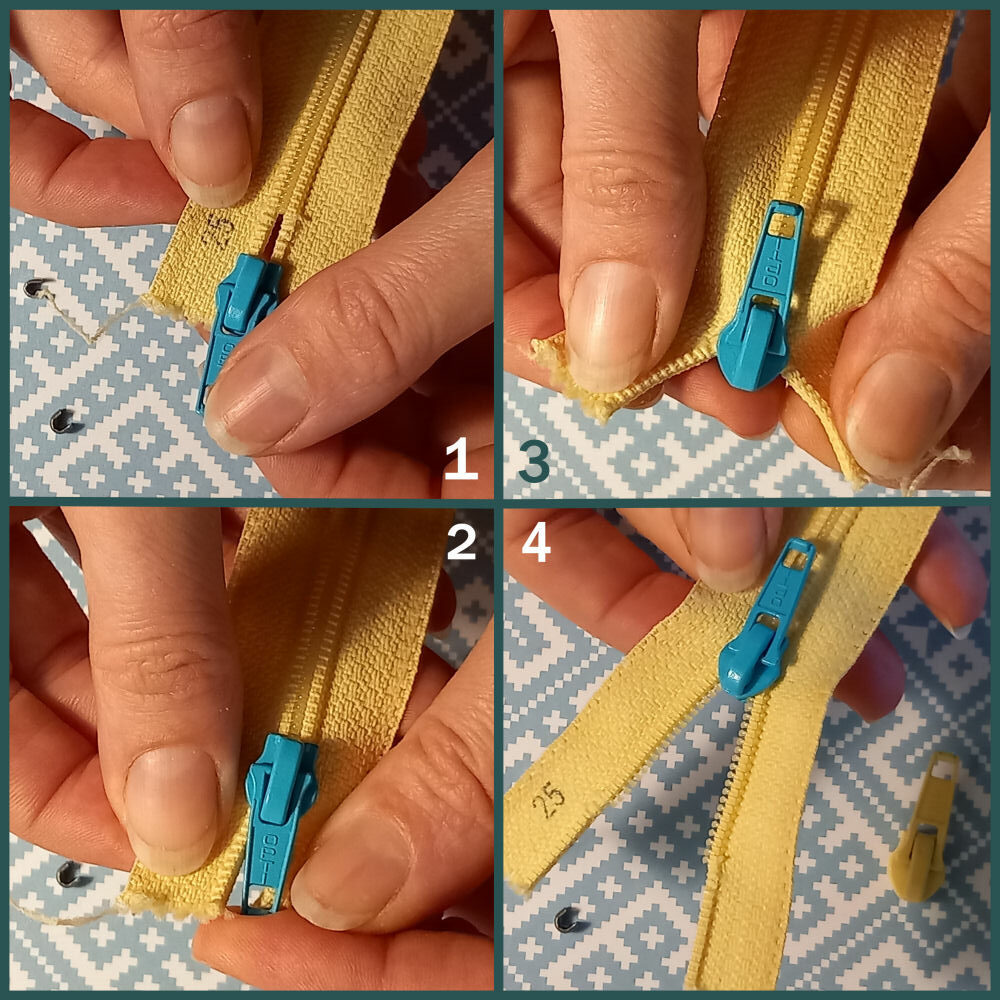
These zips do not open at the bottom and that is why we need to replace the runner from the top. (It’s the easiest way) First remove the topstops and slide off the runner.
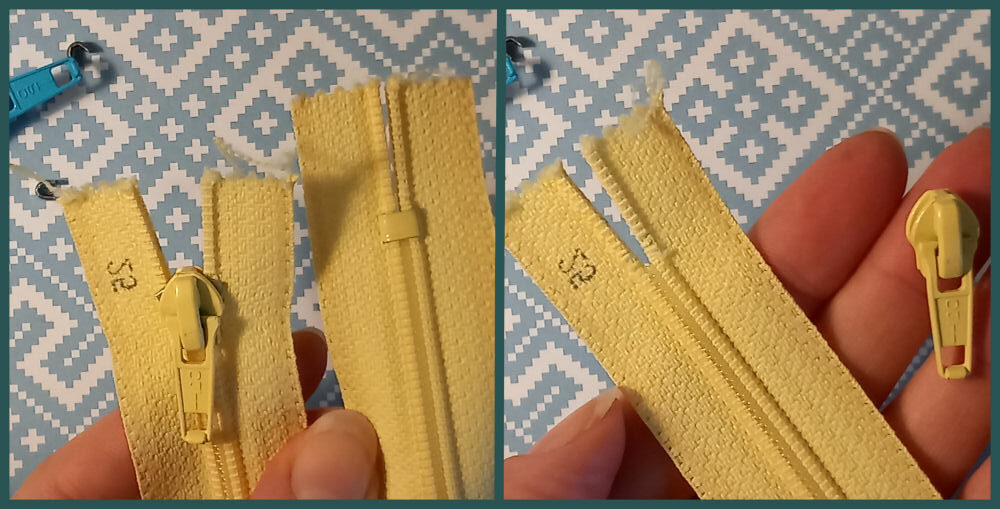
- Install the new runner
Take the new runner and slide it over the tape towards the teeth (1). Push the runner over the first teeth (2). You will often feel a kind of click when the runner slides on to the teeth. Now pull on the two top ends of the tape (away from each other) and the runner will slide slightly further over the teeth (3). Then you can pull the runner down to open the zip (4). Attach the new topstops and its done.
- Closed ended zip: replacing the runner form the bottom
6. Attach the new runner Pick up the new runner and slide over one side of the teeth, only slightly. Now slide in the other side. Now comes the tricky part, because you need to “wiggle” a little with the runner to make it go over the teeth smoothly. It’s helpfull to hold on to the ends, since the ends will stay in place better.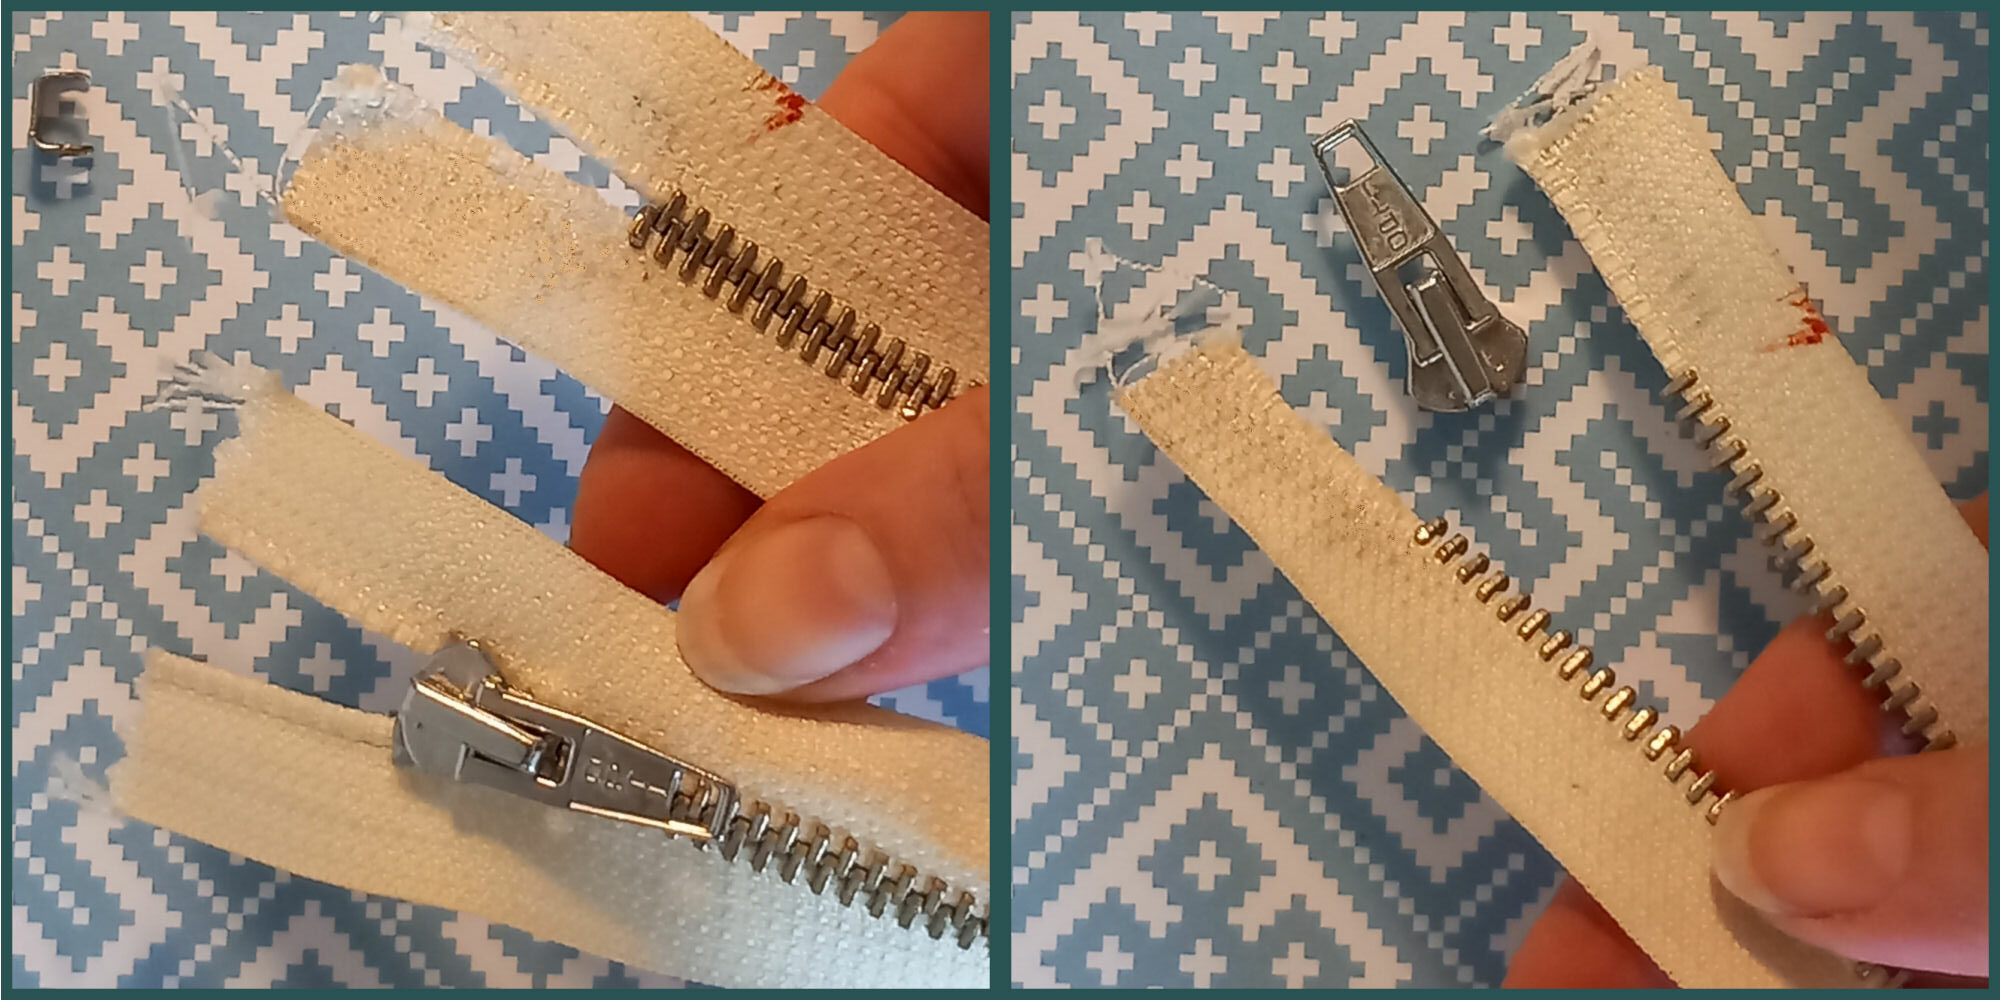
7. Runner INCORRECTLY installed Check if the zip is correctly zipped together. On the photo below you can see that on one side of the zip, four teeth stick out with respect to the other side of the zip. This should only be one tooth, just like the photo at step 6.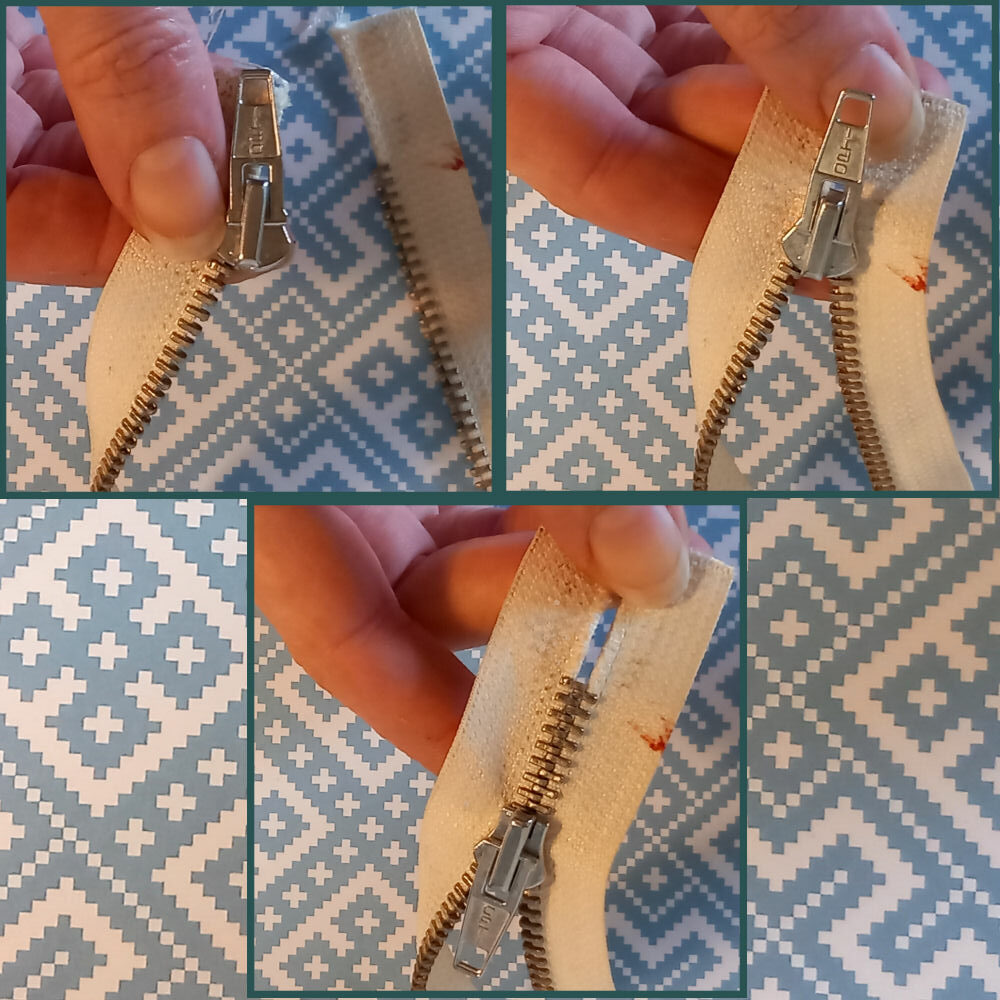
8. Replace runner on a blind or invisible zip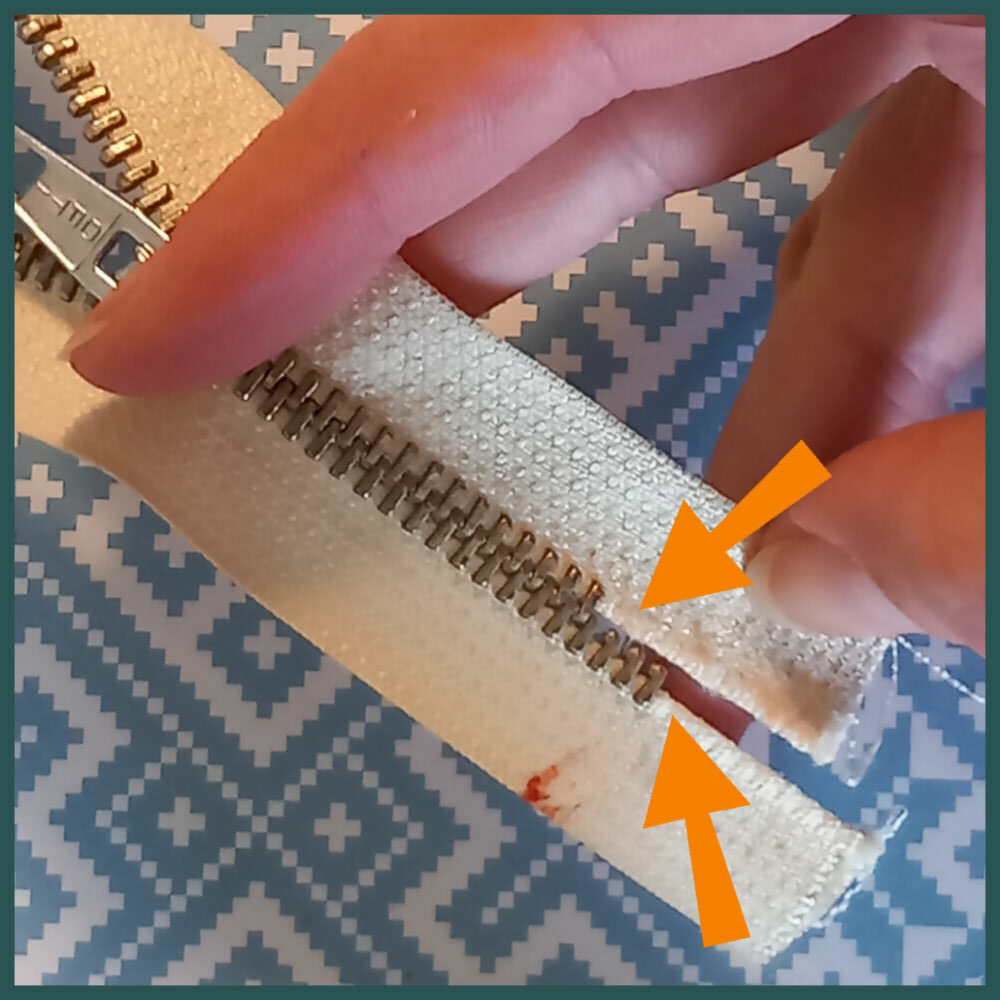
Here the method is the same as replacing the runner from the bottom of a closed ended zip (step 5). The only difference is that there is no metal stop on the end, but it’s a plastic end. Just cut through this plastic end and slide of the runner. Replace the runner as explained above. You can close up the bottom end with heat. You will need a soldering iron for that. If you don’t have one at hand, use a needle and thread to fasten it.
- Open ended zips
Pick up the zip and open it so you get two parts. Remove the topstops. (Learn how to by reading Making zip to size – Attaching bottomstop and topstops) Grab the runner and slide it all the way of the zip. Get the new runner and slide it over the zipteeth down to where the little square bit on the bottom is. Nest step is closing the zip up like you normally do. Make sure you don’t pull up the runner to far, because it will slide right off. Subsequently you attach the new topstops: DONE!