
Estimated reading time: 5 minutes
Tabel of Contents
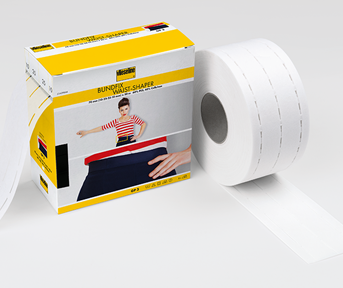
Reinforcing a waistband with waistshaper by Vilene: When you are sewing a pair of pants or a skirt with a straight waistband you can ofcourse iron in interlining. But the other option is waistshaper tape by Vilene, it is a tape you iron in and it is made specdially for waistbands
Waistshaper waistband tape interlining is available in 10-25-25-10 and 10-30-30-10 in white and black. This means your finished waistband will be 2,5 or 3cm wide. The 10 stands for the seam allowance which is included in this iron on tape. Vilenes waistshaper is a heavier interfacing with perforations. Those perforated edges are spaced apart at 10-25-25-10. See the picture, you can clearly see the edges…
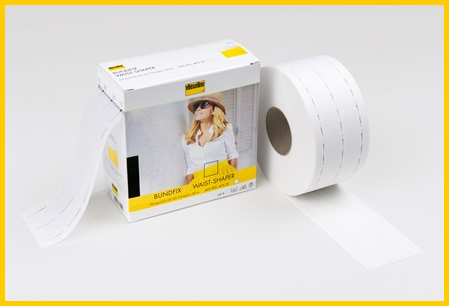
Order your waistshaper tape per box of 50m or package of 5m. The 5m packs are only available in white, the boxes in black and white.
Sewing on a waistband with waistshaper Vilene van vlieseline
Time needed: 15 minutes
How to use waistshaper by Vilene
- Cut the waistshaper tape to size.
I always take the waist of the pattern + 10cm that is always enough
- Iron on the waistband tape
Iron on the waistband tape. Please note: iron the tape straight on the fabric, not diagonally because your fabric will stretch more in that direction. See for ironing info the infosheet with the waistshaper in our shop
- Cut the waistband from your fabric without extra seam allowance
- Measuring and marking the waistband
Fold the waistband in the length (double) so you have the middle of the waistband. Put a pin in it or mark with pencil or chalk. Next measure the half of the waist to the left and the right. Half these for the side seam position. Now your waistband is devided in 4 pieces.
- Sew on the waistband
With trouses with a fly you start at the middle back. Pin on the middle of the waistband there)\u003cbr/\u003eThe other pins or markings should land on the side seams and the front.\u003cbr/\u003eWhen sewing the waistband on a skirt, where most zippers are at the back you will start pinning at the front
- Attaching the waistband
Now sew what you have pinned. Fold the waistband up so you see the fabric side. Fold back the half of the waistband so you see the interfacing. Fold the seam allowance back up. The waistband is inside out now. You can sew the ends closed, cut the excess fabric and turn the ends of the waistband
- Closing the waistband
Fold in the seam allowance and pin the waistband to itself. Now topstitch the waistband to close it. I like to topstitch on the right side of the waistband
-
Button and Buttonhole
Sew the buttonhole and sew on the button and your waistband with waistshaper is done. The other option is using a pants hook en eye.
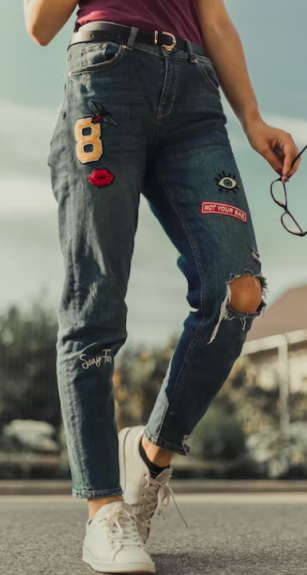
Garments suitable for waistshaper by Vilene
The Vilene waistshaper iron on tape is used only on straight waistbands. When you are sewing pants or a skirt from a stretch fabric and you want to keep the stretch, choose a stretch interlining to use in your waistband. Please read the page: Reinforcing a waistband
The three garments below are suitable for waistshaper by Vilene. Use it for womenswear and menswear in trousers and skirts


Supple waistband?
Sometimes waistshaper is too stiff and you prefer a different interfacing. When you are using a thin supple fabric or you like your waistband to be softer. Try this method with cotton edgetape and regular edgetape:
Would you like to make a rounded waistband? Read this page: Waistband interlining
Share this page: