Estimated readingtime: 6 minutes
How to insert a blind zipper, read one method here. There are more ways to insert an invisible zip, this is our prefeerred method. Most sewing machines have their own special invisible zip foot, check your machine if yours has one too. A blind zip can be inserted with a normal zipper foot but it is a little trickier. If your machine does not come with a blind zipper foot you can ask your dealer for one to fit your machine. There are also universal invisible zipper feet, ask your dealer which fits your sewing machine…Inserting an invisible blind zip, our method
Duration time: 10 minutes.
You start with two back pieces that are overlocked but not yet stitched together. They are loose beside one another.
- Put the left and right piece next to each other and place the zipper in the small space in between
Open the blind zipper and place between the pieces, now you can see clearly how it should be inserted
- Start with one of the two sides, I always start from the left
Take the end (top) of the blind zip and turn it over. Lay the zip on the back piece against the edge of your fabric. This way the spiral of the zip will be placed on the pattern middle back seam and the edge of the zipper tape will be along the fabric edge which you overlocked
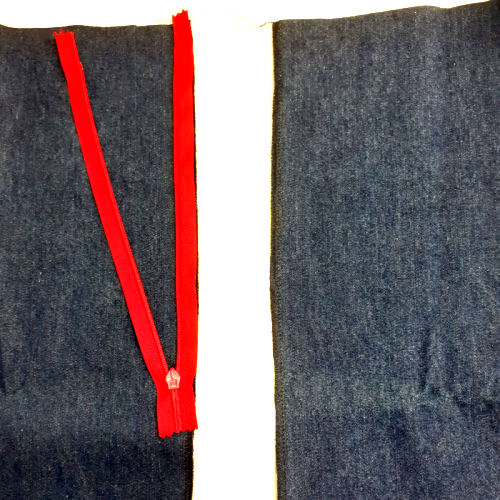
- Attach the blind zipper foot to the machine and sew part one
now you sew the zipper in from top to bottom. The spiral of the zip is folded back, so fold it open (fold it to the left with the right back piece) The unfolded zipperspiral will feed through the foot as you stitch
- Stitching the other back piece
put the pieces back like in the beginning (step 1). Now you can sew the right back piece exactly the same. Turn the zip so the spiral will be on the pattern edge and the zippertape at the end of the seam. Sew top to bottom again. Now you will fold the spiral of the zip to the right…
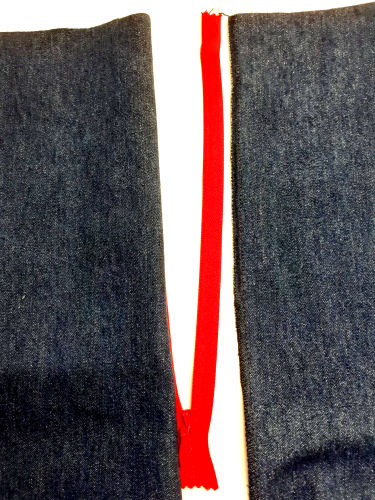
- Both sides of the zipper are attached to the back pieces, side view with the zipper closed
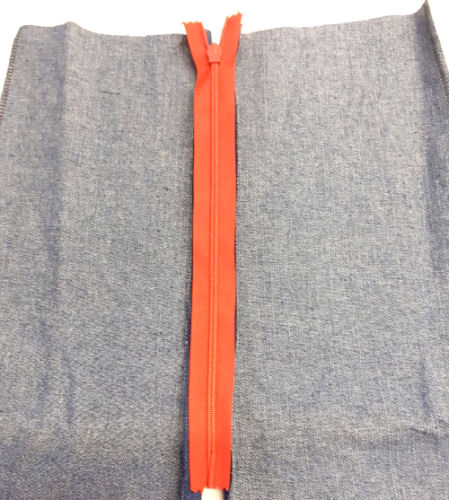
- Both sides of the zip are now attached to the back pieces with the zip open
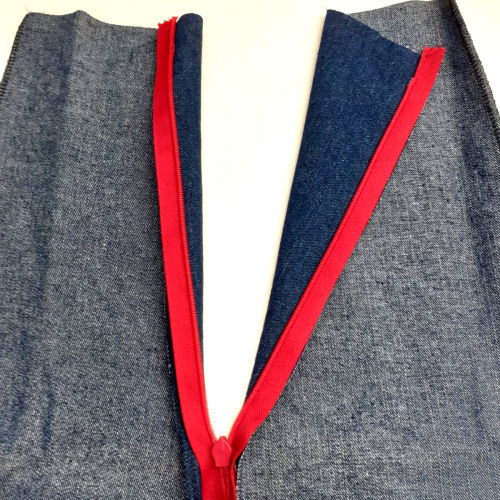
- Precise
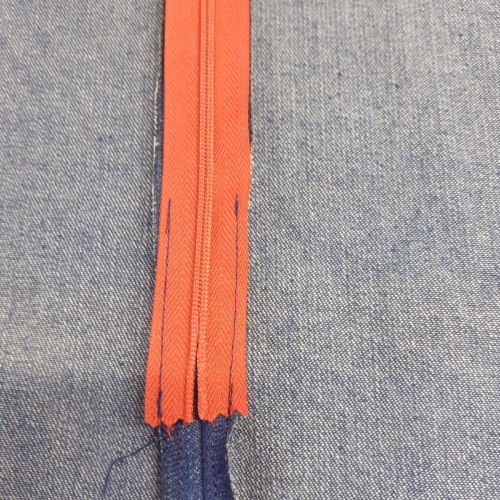
Make sure you start sewing at the same spot at the top so that it will be easier at the bottom. When you stop sewing both sides should stop at the same height. The more precise you sew, the easier the next step will be. Below you see the stitches stop practically at the same point. Is that difficult to achieve try shortening the stitches on the machine…
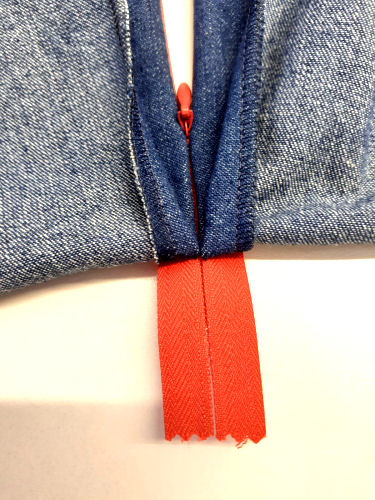
- Closing the seam
Your zip is attached to the two back pieces but the rest of the back seam is still open. Now we sew it closed from the hem up to the zip. For this a normal sewing foot is needed. Sew as close to the zip as possible. You can attach the normal zipper foot for closing the back seam but I prefer the normal sewing foot. Close to the zippers end you will get stuck, the last bit is sewn with the normal zipper foot.
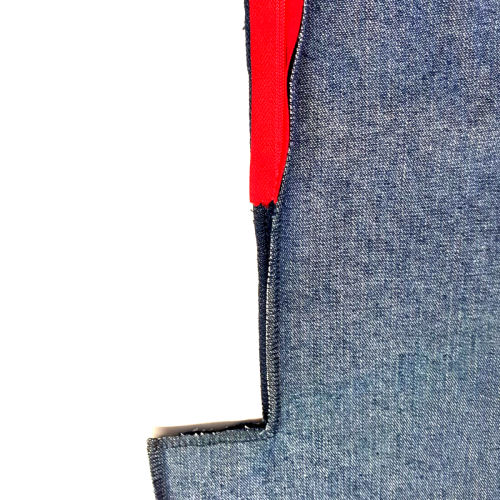
- The hole between the stitches of the seam and the zippers end
Some fabrics will work against you at the last bit, you will be left with a small hole in the seam. If you can not close it with the sewing machine, do the last half centimetre by hand.
Here you can see the hole in between the two stitches
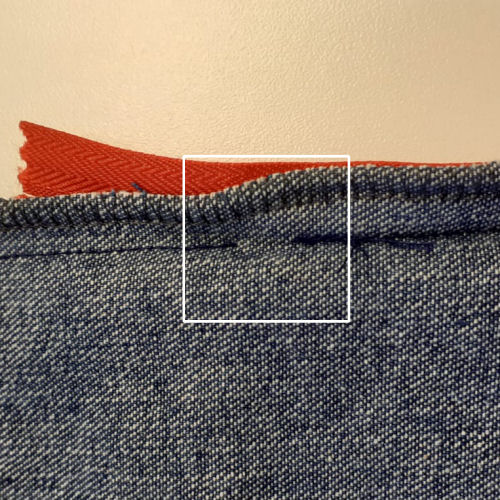
- Iron and sew the tail
Now you press open the seam. Why? When your iron you can see if the zip is inserted beautifully or if it needs adjustment. Do you approve? Great work! Nou there is only a tail left. The tail end of the zip that you sew on to the seam so it will stay in place
